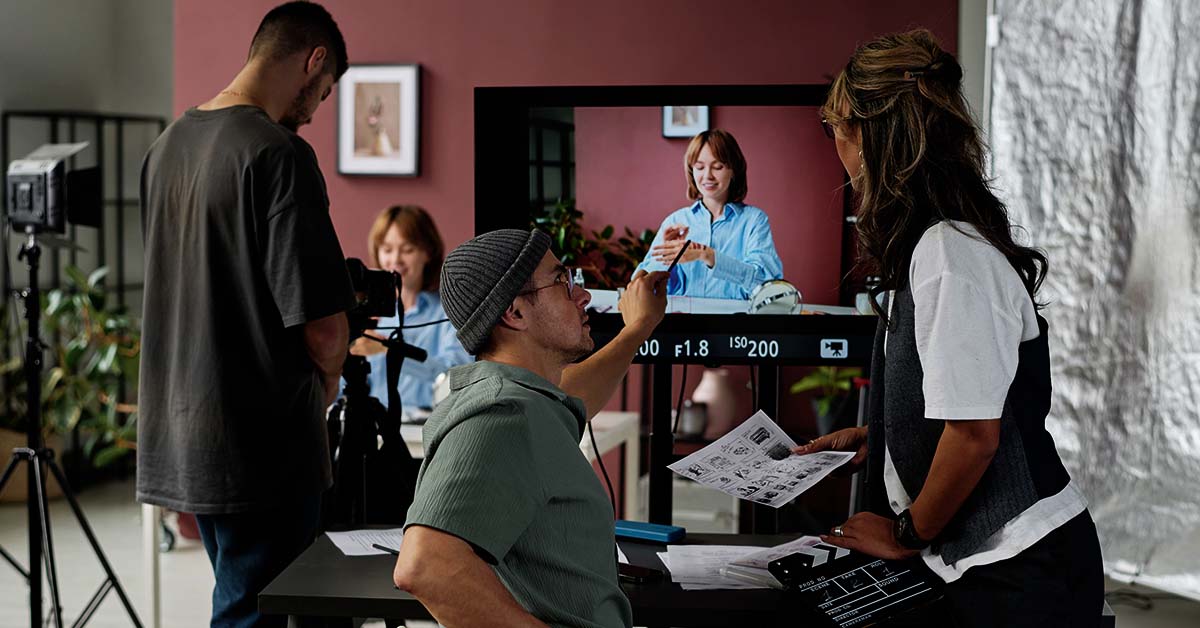
Creating a successful YouTube video isn’t just about hitting the record button. The best videos—whether tutorials, vlogs, or promotional content—require careful pre-production planning to ensure smooth filming, engaging storytelling, and high-quality results.
In this guide, we’ll walk you through the essential steps of pre-production, including scripting, storyboarding, and shot lists, to help you prepare effectively before filming.
Pre-Production Planning for YouTube Videos
The best videos—whether tutorials, vlogs, or promotional content—require careful pre-production planning to ensure smooth filming, engaging storytelling, and high-quality results
Why Pre-Production Matters
Skipping pre-production often leads to common problems like unfocused content, unnecessary reshoots, and inefficient editing. Proper planning allows you to:
✅ Save Time – Avoid confusion and wasted effort during filming.
✅ Stay Organized – Keep your video structured and on-brand.
✅ Improve Video Quality – Plan visuals, angles, and storytelling elements.
✅ Reduce Editing Hassles – Minimize errors and missing footage.
Now, let’s dive into the key steps of pre-production so you can create videos that captivate your audience from start to finish!
Step 1: Define Your Video’s Purpose
Before writing a script or picking up a camera, you need to clearly define the purpose of your video. Ask yourself:
- What is the main goal? (Educate, entertain, promote, inspire?)
- Who is the target audience?
- What action do I want viewers to take after watching?
Example purposes:
- A tutorial video should explain a process clearly and provide actionable steps.
- A product review should highlight key features and offer an honest opinion.
- A vlog should be engaging and offer a personal connection.
Clarifying your purpose will guide your scripting, visuals, and editing choices.
Step 2: Research & Gather Inspiration
Once you know your video’s goal, research what’s already out there:
- Look at trending videos in your niche.
- Analyze successful YouTube creators to see what works.
- Read comments and audience feedback to understand what viewers want.
- Explore keyword research to optimize your video for search.
Use this research to identify gaps you can fill and ensure your content stands out.
Step 3: Write a Script
Even if you’re filming a casual vlog, having a script or outline keeps you on track. A well-structured script helps:
🎯 Maintain Focus – Avoid rambling and keep the message clear. 🎬 Improve Delivery – Helps with pacing, tone, and confidence. ✍️ Enhance Editing – Makes post-production easier and more efficient.
Basic Script Structure:
- Hook (First 10 Seconds) – Capture attention quickly (ask a question, share a bold statement, or tease the content).
- Introduction (15-30 Seconds) – Introduce yourself, the topic, and why viewers should keep watching.
- Main Content (Body) – Break it into clear sections with smooth transitions.
- Call to Action (CTA) – Ask viewers to like, comment, subscribe, or visit a link.
- Conclusion – Wrap up the video and thank viewers.
🔹 Pro Tip: If you’re comfortable on camera, create a bullet-point script instead of a word-for-word one for a more natural delivery.
Step 4: Create a Storyboard
A storyboard is a visual representation of your video, outlining each scene. It’s crucial for:
🎥 Planning Shots – Decide angles, movements, and compositions ahead of time. 📝 Smoother Editing – Helps match visuals with the script. ⏳ Efficient Filming – Reduces time spent figuring things out on set.
How to Create a Storyboard:
- Draw simple sketches or use a digital tool (Canva, Storyboard That, or Photoshop).
- Label each frame with scene numbers, camera angles, and key actions.
- Add dialogue and notes for specific cues or effects.
Even a basic storyboard helps visualize the flow and ensures consistency in your video.
Step 5: Make a Shot List
A shot list is a checklist of all the footage you need. It prevents missing key shots and ensures variety in visuals.
What to Include in Your Shot List:
- Shot Type: Wide, medium, close-up, over-the-shoulder, etc.
- Angle: High-angle, low-angle, eye-level, etc.
- Movement: Static, pan, zoom, dolly, etc.
- Subject: Who or what is in the shot?
- Audio Notes: Voiceovers, background sounds, music cues.
🎬 Example Shot List for a Tutorial Video:
| Scene | Shot Type | Description |
| Intro | Medium Shot | Host introducing the topic |
| Step 1 | Close-up | Hands-on demonstration |
| Step 2 | Over-the-shoulder | Showing process from a different perspective |
| CTA | Wide Shot | Host wrapping up and encouraging engagement |
By following a shot list, you avoid last-minute stress and ensure smooth filming.
Step 6: Plan Your Filming Setup
A well-prepared filming environment contributes to high production value. Key considerations:
🎥 Camera & Equipment:
- Camera (DSLR, smartphone, webcam?)
- Tripod or stabilizer for steady shots.
- External microphone for better audio quality.
- Proper lighting setup (natural light, softbox, ring light?).
📍 Location & Background:
- Clean and clutter-free.
- Matches the video’s tone (casual, professional, creative?).
- Avoid distractions (background noise, unintentional objects in the frame).
🎤 Audio & Sound Quality:
- Test microphones before filming.
- Minimize background noise.
- Consider adding background music (royalty-free tracks from sites like Epidemic Sound or Artlist).
Step 7: Gather Props & Wardrobe
If your video requires props or specific clothing, prepare them in advance:
✅ Props for demonstrations, tutorials, or storytelling.
✅ On-brand outfits that match your video’s style.
✅ Consistent wardrobe choices for continuity (if filming over multiple days).
Simple planning avoids last-minute scrambling and keeps the production smooth.
Step 8: Prepare a Filming Schedule
A shooting schedule keeps you organized and ensures efficient filming.
Creating a Filming Schedule:
- Estimate time per scene (include setup, filming, and breaks).
- Arrange scenes logically (group similar shots together).
- Account for daylight changes (if using natural light).
🔹 Pro Tip: Always schedule extra time for retakes and unexpected issues.
Final Thoughts
Pre-production is the foundation of a great YouTube video. By planning ahead with a solid script, storyboard, shot list, and filming setup, you’ll save time, reduce stress, and create higher-quality content that resonates with your audience.
✅ Define your video’s purpose.
✅ Write a structured script.
✅ Visualize with a storyboard.
✅ List essential shots.
✅ Organize your filming setup.
✅ Stick to a schedule.
With a well-prepared pre-production process, you’ll streamline your workflow and boost your video quality—helping you grow your YouTube channel with confidence!🎬 What’s your biggest challenge in pre-production? Drop a comment below!


 Edit Your Footage
Leave a Reply